Pear Diamond Proportions, Shoulders, Belly, And Tip
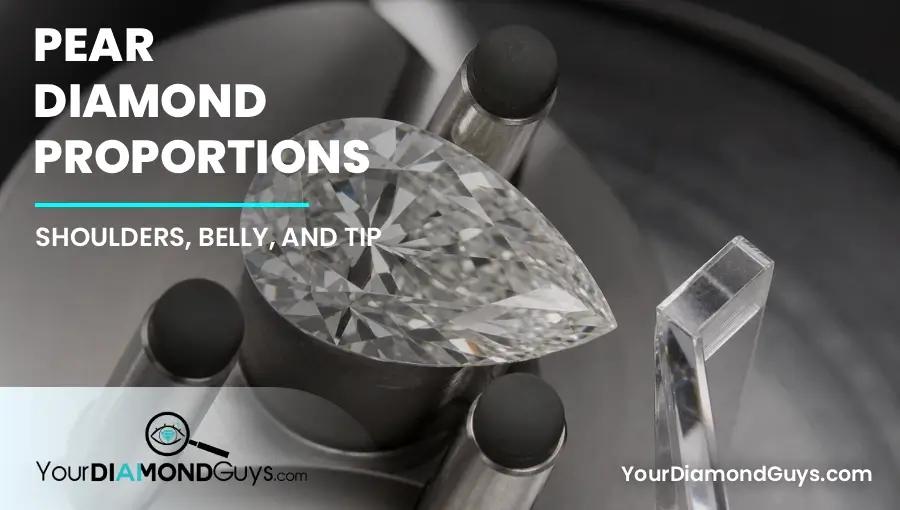
A good pear flows from shoulders to belly and finishes with a centered, protected tip.
By Josh Allen, Co-Founder of YourDiamondGuys.com. Fifth generation diamantaire with 30+ years in the global diamond trade. Former supplier to Tiffany & Co., Cartier, and Harry Winston.
How we evaluate proportions: We start with ratio and millimeters, then inspect both shoulders, the belly, wings, point alignment, bow tie, and tip strength. A pear has to flow as one outline before the numbers matter.
One heavy shoulder can make the diamond look bent. A weak tip can look fragile. A deep belly can carry weight you never see from the top.
Pears tell on cutters fast. Save weight in the wrong place and the outline loses its grace.
For natural pear diamonds, start with GIA. GIA advises checking fancy shape symmetry and bow tie behavior, then make the actual top view prove that the shoulders and point belong to the same stone.
The Short Answer
Most pear buyers start around a 1.45 to 1.75 length to width ratio. Shorter pears look fuller. Longer pears look more dramatic. Neither style works when the shoulders mismatch or the tip drifts off axis.
Use table and depth as comparison zones, not a cut grade. Judge the straight top outline, bow tie movement, tip structure, girdle at the point, belly spread, and side profile.
The Pear Outline Has Four Decisions
Shoulders create the upper curve. The belly carries the widest area. Wings taper from the belly to the point. The tip finishes the axis.
Both shoulders should match in height and fullness. Both wings should taper smoothly. The tip should line up with the center of the table and rounded end.
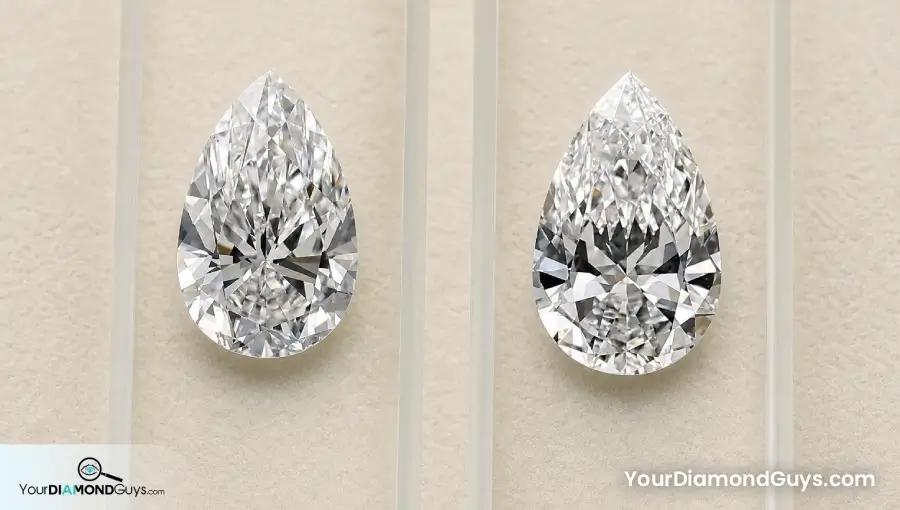
Check the silhouette before the sparkle. Matching shoulders, smooth wings, and a centered point make the pear read as one shape.
Use the outline quality guide and pause the stone in a level top frame. A tilted pear can hide a crooked axis.
Look at the transition from shoulder to belly on both sides. A sudden flat section usually becomes more visible after a halo or bezel traces the perimeter.
Pear Proportion Starting Zones
These are shortlist zones, not a GIA cut scale. Pear facet arrangements and outline styles vary too much for one numeric recipe.
Compare pears inside the same ratio band. A 1.50 pear and a 1.72 pear allocate length and belly area differently.
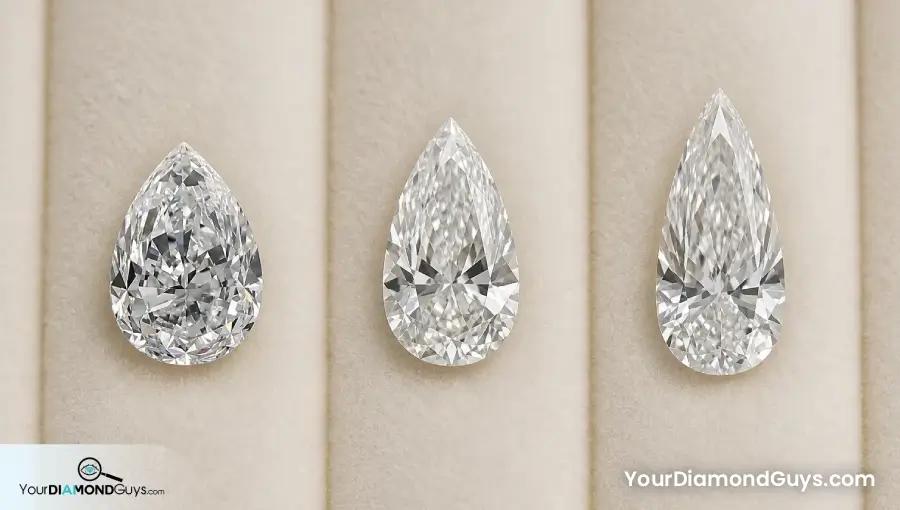
Ratio changes the style, not the grade. Compare pears inside the same shape family before you judge spread.
| Pear attribute | Practical starting zone | Visual check |
|---|---|---|
| Length to width ratio | 1.45 to 1.75 | Shoulder and wing flow |
| Table percentage | About 54 to 62 percent | Center pattern and fire |
| Depth percentage | About 58 to 64 percent | Belly weight and spread |
| Girdle | Avoid very thin at the tip | Point durability and hidden belly weight |
| Polish and symmetry | Excellent or Very Good | Outline still needs direct review |
Bow Tie And Tip Brightness
A pear can show a bow tie across the belly and crushed texture near the point. Some contrast is normal. A broad fixed dark band or dead tip is not.
Watch the center and point during a slow rotation. Good areas trade brightness and contrast. Weak areas stay gray or black while the rest of the stone flashes.
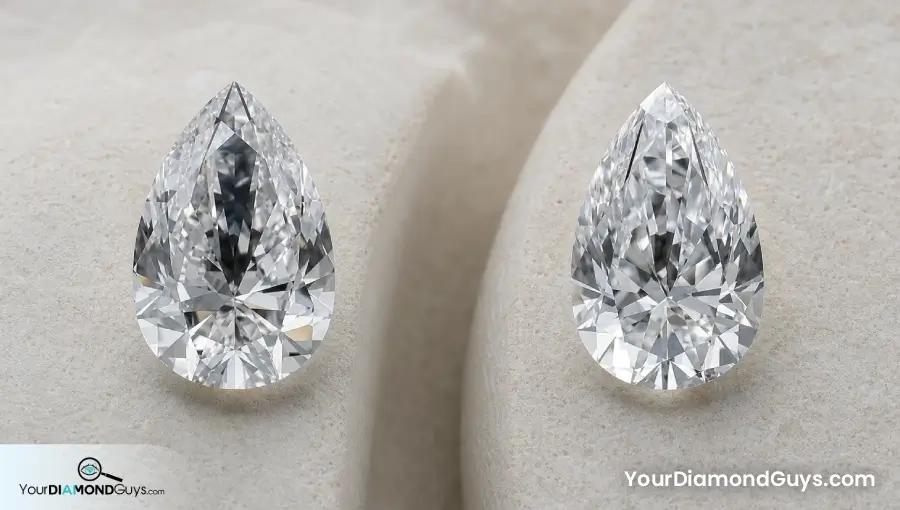
A still image starts the test. Video has to prove whether the center band breaks up and the tip switches on.
The fancy shape limits guide explains why table, depth, and ratio cannot predict that movement.
Durability Lives At The Point
The pointed end needs enough girdle thickness and a protective setting. Check for a chip, cavity, bruise, knot, etched channel, or indented natural near the tip before approving a lower clarity stone.
A V prong or secure bezel can protect a sound point. It cannot erase a structural inclusion or rebuild an Extremely Thin tip.
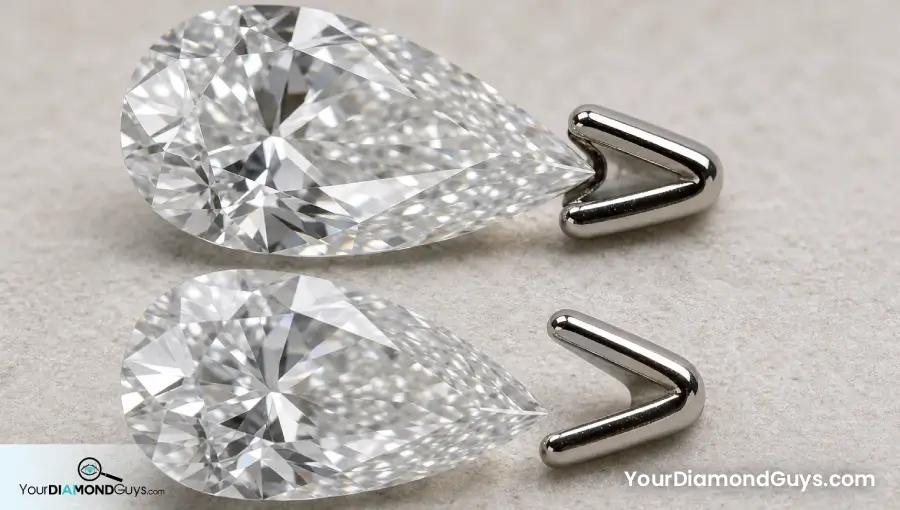
A V prong protects a sound point. It does not fix a chip, risky inclusion, or an Extremely Thin local girdle.
Compare the girdle guide with the clarity plot and magnified video. Shape and setting risk meet in that one small area.
Check the tip from the side as well as the top. A centered face up point can still carry a very thin local edge or a pavilion shape that gives the setter little safe metal contact.
How I Screen A Pear
I shortlist pears by outline before ratio. Then I compare bow tie, tip brightness, spread, girdle, and clarity at the point.
The pear stays when the rounded end feels balanced, the wings taper cleanly, and the point lands on axis. The report supports the choice. It cannot draw a better outline.
Two Pears With Similar Ratios
Pear A and Pear B both have a 1.60 ratio and 62 percent depth. Pear A has matching shoulders and a centered tip. Pear B has one high shoulder and a thick belly girdle.
Pear A reads balanced and spreads its weight more honestly. Pear B uses the same ratio to hide a crooked outline and extra perimeter mass.
Mistakes I Would Avoid
- Choosing ratio before checking shoulder symmetry.
- Ignoring a dark or dead tip.
- Buying an Extremely Thin point and expecting the prong to fix it.
- Comparing a short pear with a long pear on footprint alone.
- Watching bow tie only under intense spotlighting.
Questions To Ask Before Buying
- Do both shoulders have the same curve and height?
- Does the tip align with the table and rounded end?
- Does the bow tie brighten as the stone moves?
- Are risky inclusions located near the point?
- Will the setting protect the tip without hiding the outline?
Where To Compare The Proof
Affiliate disclosure: Your Diamond Guys can earn a small commission if you buy through a partner link. It does not change what you pay or which diamond we recommend.
Compare pear videos and report plots on Ritani and Blue Nile. Pause each stone in a straight top view, then inspect the point under magnification before comparing sparkle.
The Pear I Would Choose
Pick the pear outline that looks balanced before you chase a favorite ratio. Shoulders, wings, belly, and tip need one continuous rhythm.
Then demand moving contrast, a protected point, and fair spread. A beautiful pear looks intentional from every direction.
If you want another set of eyes on the stone, book your free consultation with Your Diamond Guys.
Finish The Pear Review
The broad pear shape diamond guide covers the full buying decision. Pair it with the bow tie effect guide, then check shoulder and outline balance and girdle strength at the point.
Use the central diamond proportions guide to connect the pear outline with ratio, spread, girdle strength, and visual proof.
The Pear Shape "Black Hole": THE BOWITE EFFECT
Questions? Reach out directly for a free consultation, or drop them in the Diamond Buyers Academy community — Rob and Josh answer personally.
Questions Buyers Ask Us
*Some links on our site may earn us a small commission at NO EXTRA cost to you, helping us keep our content free*