Oval Diamond Proportions Beyond Length To Width Ratio
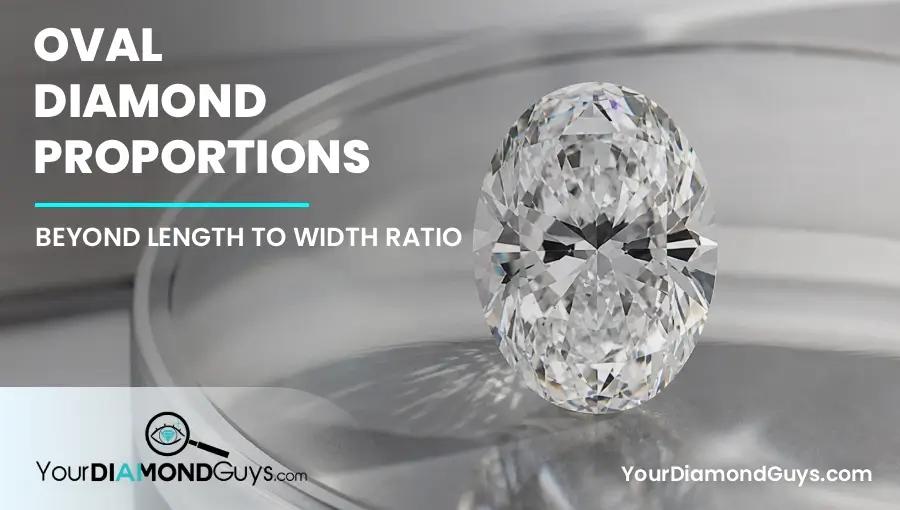
The ratio sets the silhouette. Bow tie, shoulders, belly, and facet pattern decide whether it works.
By Josh Allen, Co-Founder of YourDiamondGuys.com. Fifth generation diamantaire with 30+ years in the global diamond trade. Former supplier to Tiffany & Co., Cartier, and Harry Winston.
How we evaluate proportions: We start with ratio and millimeters, then inspect the shoulders, belly, ends, bow tie, and spread at a slow rotation. The outline and moving contrast decide whether the oval works.
An oval is a balance of length, shoulders, belly, ends, depth, facet pattern, and obstruction. Change one and the whole shape can feel different.
I have seen buyers chase 1.40 because a chart called it ideal. The beautiful stone was 1.34. The ugly one was 1.40. The eyes had the better chart.
For natural ovals, start with GIA. GIA notes that ovals need video because bow ties vary within the same ratio, which is the right warning for every buyer comparing proportion charts.
The Short Answer
A 1.30 to 1.50 ratio covers the oval looks most buyers prefer. I often find 1.35 to 1.45 easy to balance, but ratio is a style range, not a cut grade.
Use table and depth as comparison clues, then judge shoulder curve, belly fullness, end shape, bow tie persistence, spread, and movement. No proportion combination can guarantee a bow tie free oval.
Start With Outline, Not The Bow Tie
A graceful oval has smooth shoulders, even ends, a centered axis, and a belly that does not bulge into a pill shape. Flat shoulders can push the outline toward marquise. Heavy shoulders make it look blunt.
Use the outline quality guide with a straight top image. Once the silhouette passes, inspect the internal pattern.
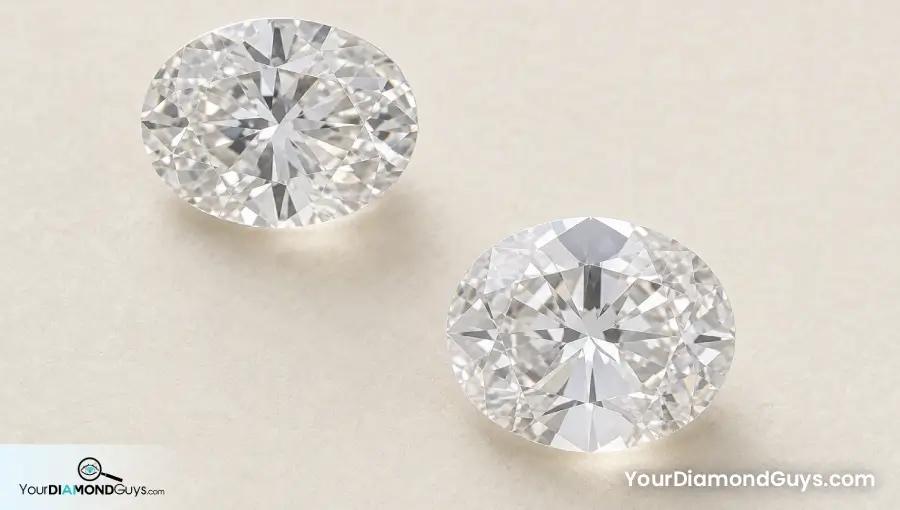
Ignore the sparkle for a minute. Smooth shoulders and even ends make the graceful oval. Heavy shoulders create the pill shape.
An oval with perfect light return but an outline you dislike will not become more attractive after setting. Shape preference comes first because you will see it every day.
Oval Ratio And Proportion Starting Zones
These ranges organize the search. They do not create a formal grade. Ovals with different facet arrangements can behave differently inside the same numbers.
Keep comparisons within a narrow ratio band. A shorter oval naturally carries area differently from a long narrow oval, so raw spread scores need ratio context.
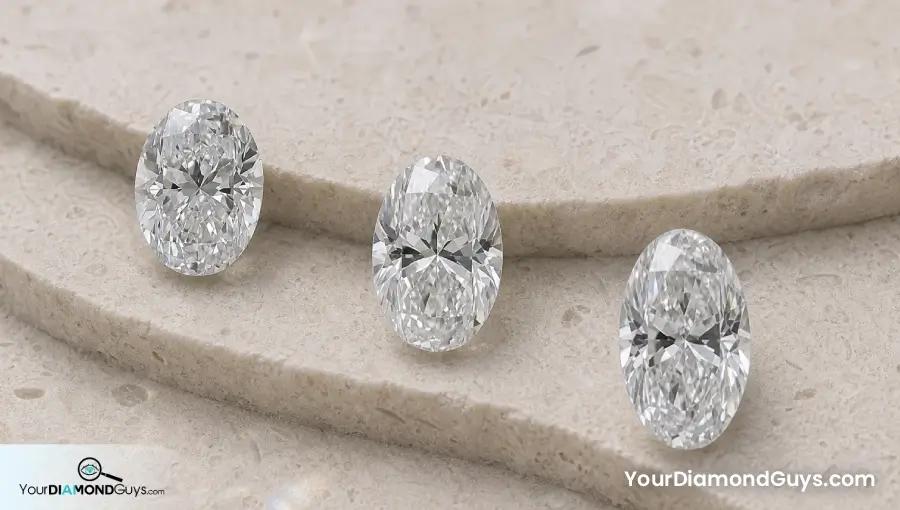
Ratio changes the style. It does not grade the cut, predict the bow tie, or decide which outline you should prefer.
| Oval attribute | Practical starting zone | What can still go wrong |
|---|---|---|
| Length to width ratio | 1.30 to 1.50 | Flat ends, heavy shoulders, or extreme stretch |
| Table percentage | About 54 to 61 percent | Bow tie, mushy ends, or weak contrast |
| Depth percentage | About 59 to 63.5 percent | Hidden belly weight or shallow leakage |
| Girdle | Avoid unexplained extremes | Thin end risk or thick belly weight |
| Polish and symmetry | Excellent or Very Good | No overall fancy cut grade |
Bow Tie Strength Must Be Watched In Motion
Some bow tie contrast gives an oval structure. The problem is a broad, dark band that stays fixed and controls the center.
Obstruction changes with viewer distance. Watch from close and normal distance. Rotate slowly. A healthy contrast band brightens and breaks apart as facets switch on. A bad one remains heavy.
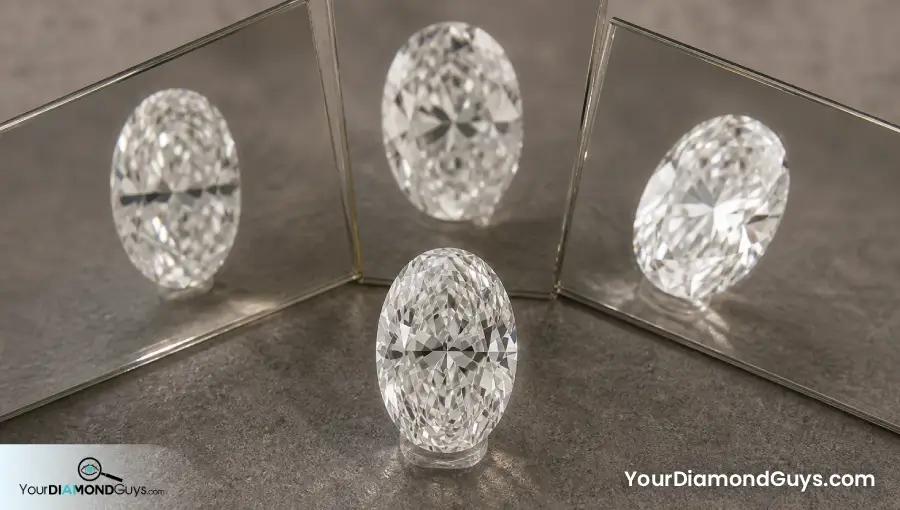
Healthy center contrast changes as the angle changes. A broad band that stays dark is the problem.
The fancy shape limits guide explains why table and depth cannot predict this behavior.
Belly Depth And Spread Need A Side View
An oval can hide weight through a deep belly or thick girdle while keeping a respectable total depth percentage. Compare actual length and width with nearby ovals of the same ratio.
Use the spread score method inside a peer group, then inspect the side profile. Extra pavilion bulge needs to produce visible beauty or a lower price.
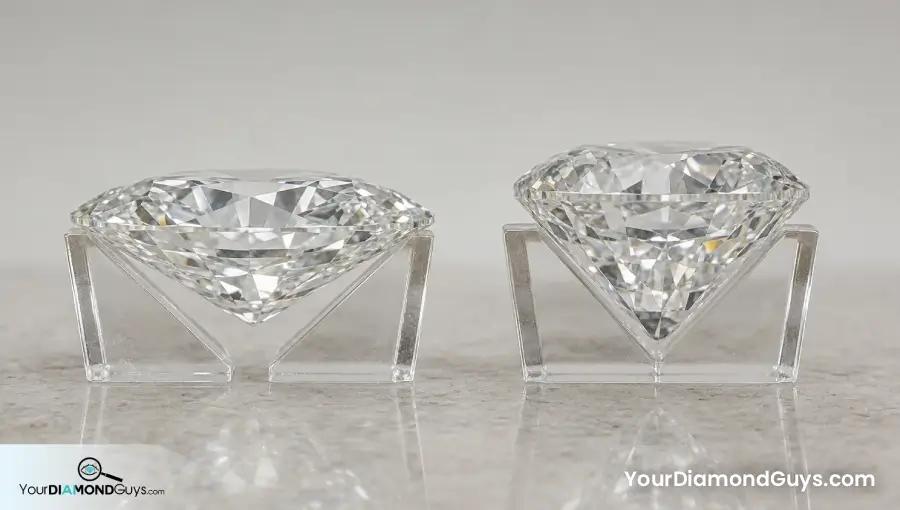
The side view exposes where the carat weight sits. A deep belly needs to earn that hidden weight with better beauty or price.
A very shallow oval can look large in millimeters and still show watery or transparent areas. Spread must survive the light test.
How I Screen An Oval
I choose the ratio band and outline first. Then I compare spread, bow tie movement, end brightness, and side profile across three to five ovals.
The best oval does not need zero contrast. It needs balanced contrast that moves, bright ends that participate, and a footprint that earns the carat weight.
Two Ovals With Similar Ratios
Oval A and Oval B both have a 1.42 ratio, 59 percent table, and 62 percent depth. Oval A has a broad fixed bow tie and dark ends. Oval B shows a narrow center contrast that brightens with motion.
Oval B wins even though the report columns tie. Its outline and movement create the better diamond.
Mistakes I Would Avoid
- Calling 1.40 the ideal oval ratio for everyone.
- Trying to predict bow tie from table and depth.
- Ignoring heavy shoulders or flat ends.
- Rewarding length without checking width and belly balance.
- Watching only a fast spotlight video.
Questions To Ask Before Buying
- Does the oval outline look balanced in a straight top view?
- Does the bow tie brighten and change as the stone moves?
- How does the footprint compare with ovals at the same ratio and weight?
- Are the ends bright or permanently mushy?
- Does a thick girdle or deep belly hide weight?
Where To Compare The Proof
Affiliate disclosure: Your Diamond Guys can earn a small commission if you buy through a partner link. It does not change what you pay or which diamond we recommend.
Compare ovals in one ratio band on Brilliant Earth and Blue Nile. Pause the videos at matching angles and watch whether the center contrast moves or stays locked.
The Oval I Would Choose
Use 1.30 to 1.50 as the broad oval style range and let your preferred outline narrow it. Do not let a chart choose the silhouette for you.
Buy the oval whose bow tie behaves, ends stay active, shoulders look balanced, and spread makes sense. The video has the final vote.
If you want another set of eyes on the stone, book your free consultation with Your Diamond Guys.
Finish The Oval Review
The broad oval diamond guide covers the full buying decision. Use the bow tie effect guide for motion and contrast, then compare ratio and outline balance.
The diamond proportions and measurements guide connects the oval review with ratio, spread, outline, depth, and report fundamentals.
The Oval Diamond "Sweet Spot"
Questions? Reach out directly for a free consultation, or drop them in the Diamond Buyers Academy community — Rob and Josh answer personally.
Questions Buyers Ask Us
*Some links on our site may earn us a small commission at NO EXTRA cost to you, helping us keep our content free*