How To Calculate Diamond Length To Width Ratio
By Josh Allen, Co-Founder of YourDiamondGuys.com. Fifth generation diamantaire with 30+ years in the global diamond trade. Former supplier to Tiffany & Co., Cartier, and Harry Winston.
How we evaluate proportions: We divide length by width, compare that ratio only within the same shape, then inspect the outline from a straight top view. The number describes the silhouette. The actual curves decide whether it looks balanced.
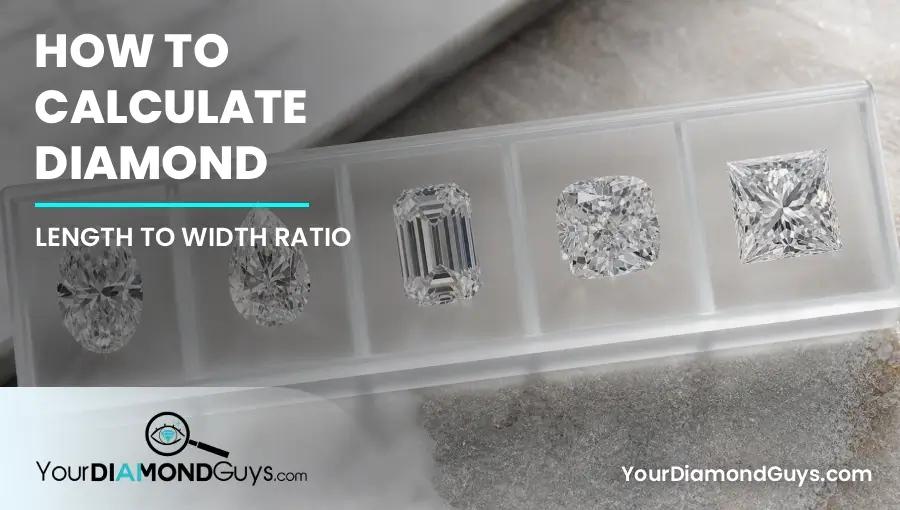
Here is the length to width ratio formula, divide the diamond's length by its width. The result describes the outline, not whether the diamond is beautiful.
That distinction matters. A 1.45 oval can look elegant, heavy through the shoulders, or flat at the ends. The ratio stays the same while the personality changes completely.
Dealers use ratio as quick shorthand. We never use it as a substitute for a top view. The number gets the stone into the tray. The outline keeps it there.
For natural diamonds, start with GIA. GIA calculates oval ratio by dividing length by width, and the same basic formula works for every elongated shape.
The Short Answer
Divide length by width. A 9.00 × 6.00 mm oval has a 1.50 ratio. Values closer to 1.00 look squarer or rounder. Higher values look longer and narrower.
Use the ranges below as preference zones, not cut grades. Ratio controls silhouette, finger coverage, setting fit, and visual style. It cannot predict bow tie strength, windowing, crushed ice, or light return.
Practical Ratio Ranges By Shape
There is no single correct ratio. The right range depends on the outline you like and whether the shoulders, corners, wings, and points stay balanced.
These zones describe common buyer preferences. They do not certify cut quality. An attractive stone can sit outside them, and an ugly stone can sit right in the middle.
| Shape | Common starting ratio | What to inspect beyond the number |
|---|---|---|
| Round | About 1.00 | Minimum and maximum diameter difference |
| Princess | 1.00 to 1.05 for a square look | Side equality, corners, and pavilion bulge |
| Square cushion | 1.00 to 1.08 | Corner shape, belly, and facet style |
| Elongated cushion | 1.15 to 1.30 | Shoulders, crushed texture, and spread |
| Oval | 1.30 to 1.50 | Ends, shoulders, bow tie, and belly |
| Pear | 1.45 to 1.75 | Shoulder symmetry, belly, and tip |
| Marquise | 1.75 to 2.25 | Point alignment, wings, and bow tie |
| Emerald | 1.30 to 1.50 | Windowing, clipped corners, and step pattern |
| Elongated radiant | 1.20 to 1.40 | Corner balance and center texture |
| Heart | 0.90 to 1.10 | Lobe match, cleft, and point alignment |
How Ratio Changes The Look
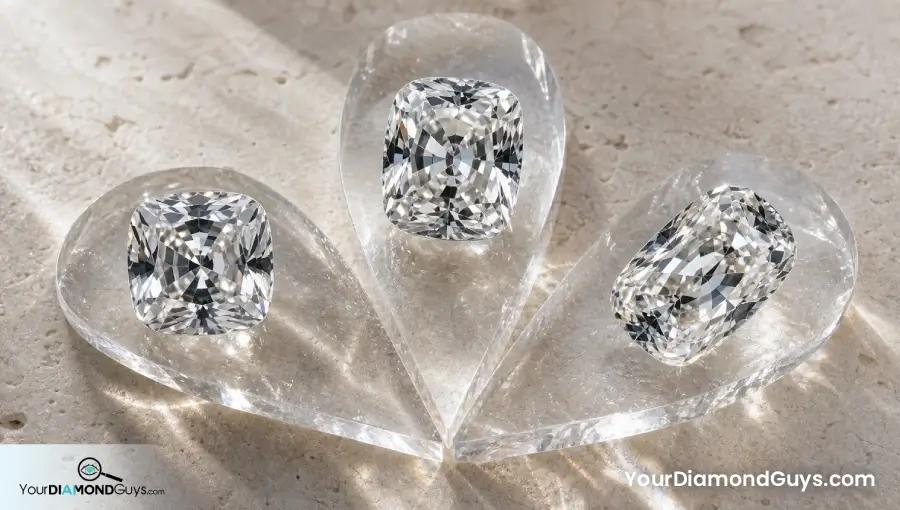
A lower ratio concentrates area across the width. The diamond reads fuller and often more traditional. A higher ratio pulls the outline along the finger and can create more apparent coverage.
Extra length is not free beauty. Stretch an oval too far and the ends can look pinched. Stretch a pear and the shoulders can collapse. Stretch an emerald and the center can look narrow and glassy.
The measurements guide shows how to read the raw millimeters first. Ratio is simply the relationship between those first two numbers.
When you compare visible area, use the spread score method only inside the same shape and a narrow ratio band. Otherwise a long narrow outline can win the calculation while losing the balanced look you wanted.
Balanced Does Not Mean Symmetrical On Paper
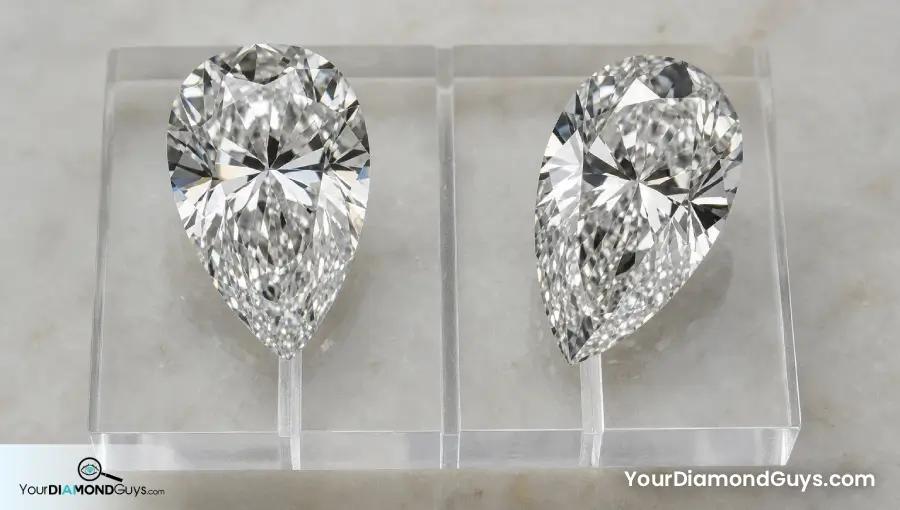
A perfect ratio cannot catch a flat spot or one heavy shoulder. It cannot tell you whether a pear tip lines up with the center of the belly. It cannot see mismatched heart lobes.
Use the ratio to define your preferred silhouette, then use the outline quality guide to judge whether the curves and corners earn it.
GIA symmetry still matters, but the grade and the outline answer different questions. The symmetry grade evaluates craftsmanship. Your top view tells you whether the shape looks balanced to your eye.
- Trace an imaginary vertical centerline.
- Compare the left and right shoulders.
- Check whether points and culets sit on center.
- Look for smooth curves without bumps or flat sections.
Ratio And The Setting Have To Agree
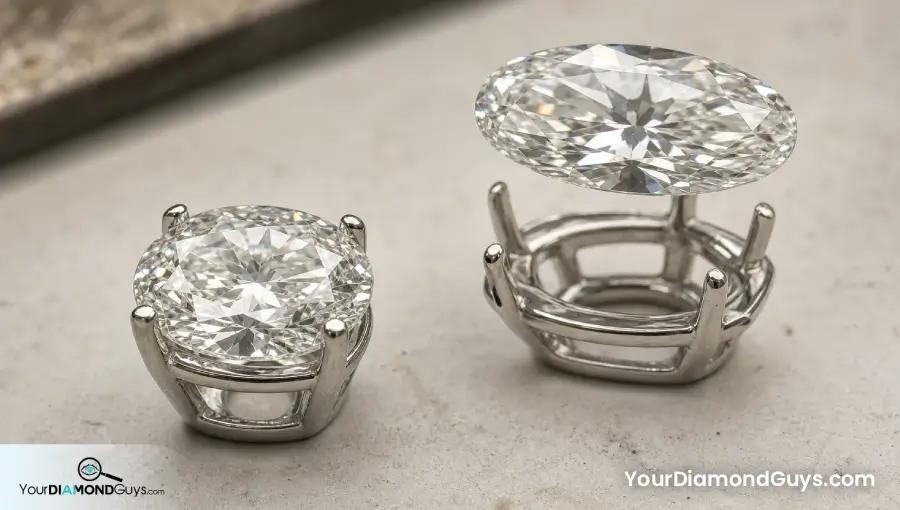
A setting designed for a 1.35 oval will not always accept a 1.55 oval of the same carat weight. Basket length, prong position, halo outline, and side stone spacing all change.
Ask for the mounting specifications before you commit to an unusual ratio. A custom head solves many fit issues, but you need to know that before the stone arrives.
For pears, marquises, hearts, and princess cuts, point protection matters as much as outline. A beautiful ratio loses its charm if the prongs leave a vulnerable point exposed.
How I Use Ratio In A Shortlist
Choose the silhouette first. Short oval, classic oval, long oval. Square cushion or elongated cushion. Then compare only stones within a narrow ratio band.
That keeps the shortlist coherent. You can judge spread, cut pattern, color, and price without bouncing between completely different shapes that happen to share a category name.
A Ratio Calculation Example
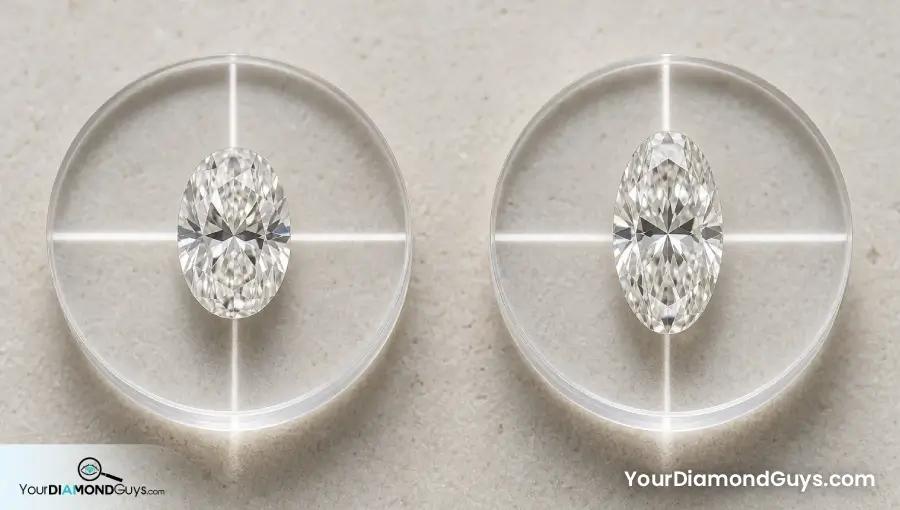
Two ovals both weigh 1.50 carats. One measures 9.20 × 6.80 mm for a 1.35 ratio. The other measures 10.00 × 6.55 mm for a 1.53 ratio.
The first reads fuller. The second gives more length. Neither wins on ratio alone. I would compare shoulder shape, bow tie behavior, depth, and actual video before choosing.
Mistakes I Would Avoid
- Calling one ratio ideal for every buyer.
- Using ratio to predict bow tie or light return.
- Ignoring flat spots, bulges, and uneven shoulders.
- Buying an unusual ratio before checking setting fit.
- Comparing ratio across shapes as if the outlines use area the same way.
Questions To Ask Before Buying
- What length to width range fits the look I want?
- Does the top view stay balanced at this ratio?
- Will the chosen setting accept these exact millimeters?
- Does extra length create weak shoulders, wings, or corners?
- Can I compare videos of three stones in the same ratio band?
Where To Compare The Proof
Affiliate disclosure: Your Diamond Guys can earn a small commission if you buy through a partner link. It does not change what you pay or which diamond we recommend.
Compare shape inventories on Brilliant Earth and Ritani with ratio calculated from the listed measurements. Keep the ratio band tight so your eye compares cut and outline instead of jumping between silhouettes.
The Ratio Decision I Would Make
Treat ratio as a style control. It is useful, fast, and honest about shape. It is not a beauty score.
Pick the outline you love, confirm the setting can hold it, then demand a balanced top view and a strong video. That is how the number becomes useful.
If you want another set of eyes on the stone, book your free consultation with Your Diamond Guys.
Turn The Ratio Into A Visual Check
Use the length to width ratio cheat sheet for quick shape ranges. This guide handles the calculation and its limits. Next, read the report measurements, inspect outline quality, and use the oval proportion check when the stone is elongated.
Use the central diamond proportions guide to connect ratio with depth, spread, outline quality, and shape specific proof.
Diamond Size Secrets!
Questions? Reach out directly for a free consultation, or drop them in the Diamond Buyers Academy community — Rob and Josh answer personally.
Questions Buyers Ask Us
*Some links on our site may earn us a small commission at NO EXTRA cost to you, helping us keep our content free*