Prong Hide Strategy for Lower Clarity Diamonds
By Josh Allen, Co-Founder of YourDiamondGuys.com. Fifth generation diamantaire with 30+ years in the global diamond trade. Former supplier to Tiffany & Co., Cartier, and Harry Winston.
Prongs can hide a safe edge inclusion. They cannot make a risky inclusion safe. That is the line buyers need to remember inside the clarity decision.
A prong strategy works only when the mark sits in the right place and the setter agrees. It fails when the inclusion is visible, structural, or under the table.
The GIA plot helps find the mark. The setting plan decides whether the prong can cover it without creating pressure.
Trade desk rule: use prongs for visibility, never as a bandage for durability.
Prongs Hide Placement, Not Risk

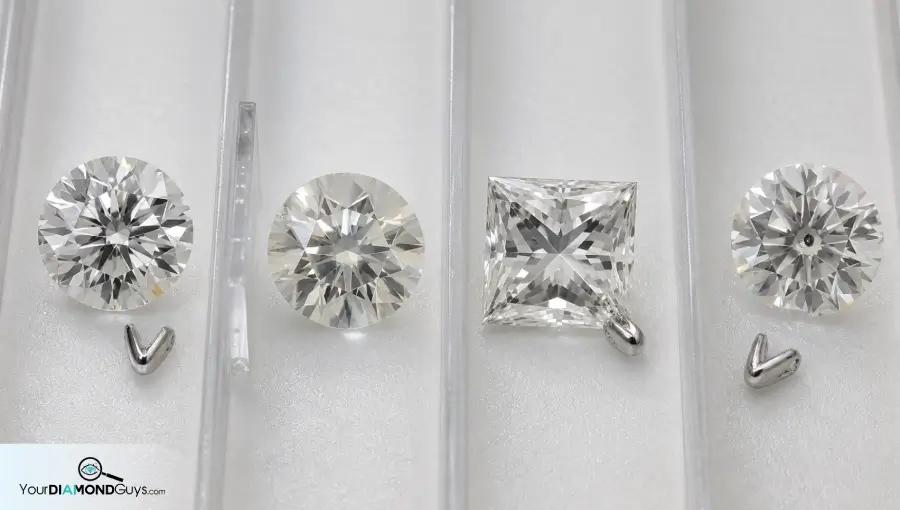
A small white inclusion near the girdle can disappear under a prong. A feather, chip, cavity, or knot near pressure still needs review.
If the seller says the setting will hide it, ask whether the inclusion is safe before you ask whether it is covered.
Clock Position Before Setting
| Inclusion Position | Prong Potential | Buyer Move |
|---|---|---|
| Small safe edge mark | Good candidate | Match to prong layout |
| Black table mark | No help | Do not rely on setting |
| Feather near girdle | Depends on safety | Ask setter first |
| Chip or cavity | Visual cover only | Usually reject |
Use inclusion location and a clock position. Twelve o'clock edge is useful information. Somewhere near the side is not.
What A Prong Should Never Cover

Do not use a prong to hide damage. Chips, cavities, bruises, and serious knots belong in the surface risk conversation first.
A prong can add pressure. Putting pressure on the wrong feature is not a clever trick.
Prong Hide Pass And Reject Rules
- Pass when the mark is small, safe, and lines up with the planned prong.
- Slow down when the mark reaches the surface or sits near a thin girdle.
- Reject when the inclusion needs a prong to hide a durability problem.
- Ask the setter to confirm before you buy the diamond.
Prong Strategy Links
- Use naturals and indented naturals for girdle features.
- Use knot inclusions for surface reaching crystals.
- Use best clarity for engagement rings when you want less setting risk.
Talk To The Setter Before Buying
If you compare candidates on Brilliant Earth or Blue Nile, save the report, plot, and video, then ask whether the planned setting can safely cover the exact location.
The right answer sounds specific. If the answer is vague, keep shopping.
Questions To Ask Before Using A Prong Strategy
- What prong position covers the inclusion exactly?
- Is the inclusion safe before the prong covers it?
- Will the prong add pressure to a feather, chip, cavity, or knot?
- Has the setter reviewed the report and actual video?
Discover the Perfect Diamond, Effortlessly
Questions? Reach out directly for a free consultation, or drop them in the Diamond Buyers Academy community — Rob and Josh answer personally.
Prong Hiding FAQs
*Some links on our site may earn us a small commission at NO EXTRA cost to you, helping us keep our content free*