Diamond Proportion Red Flags Checklist
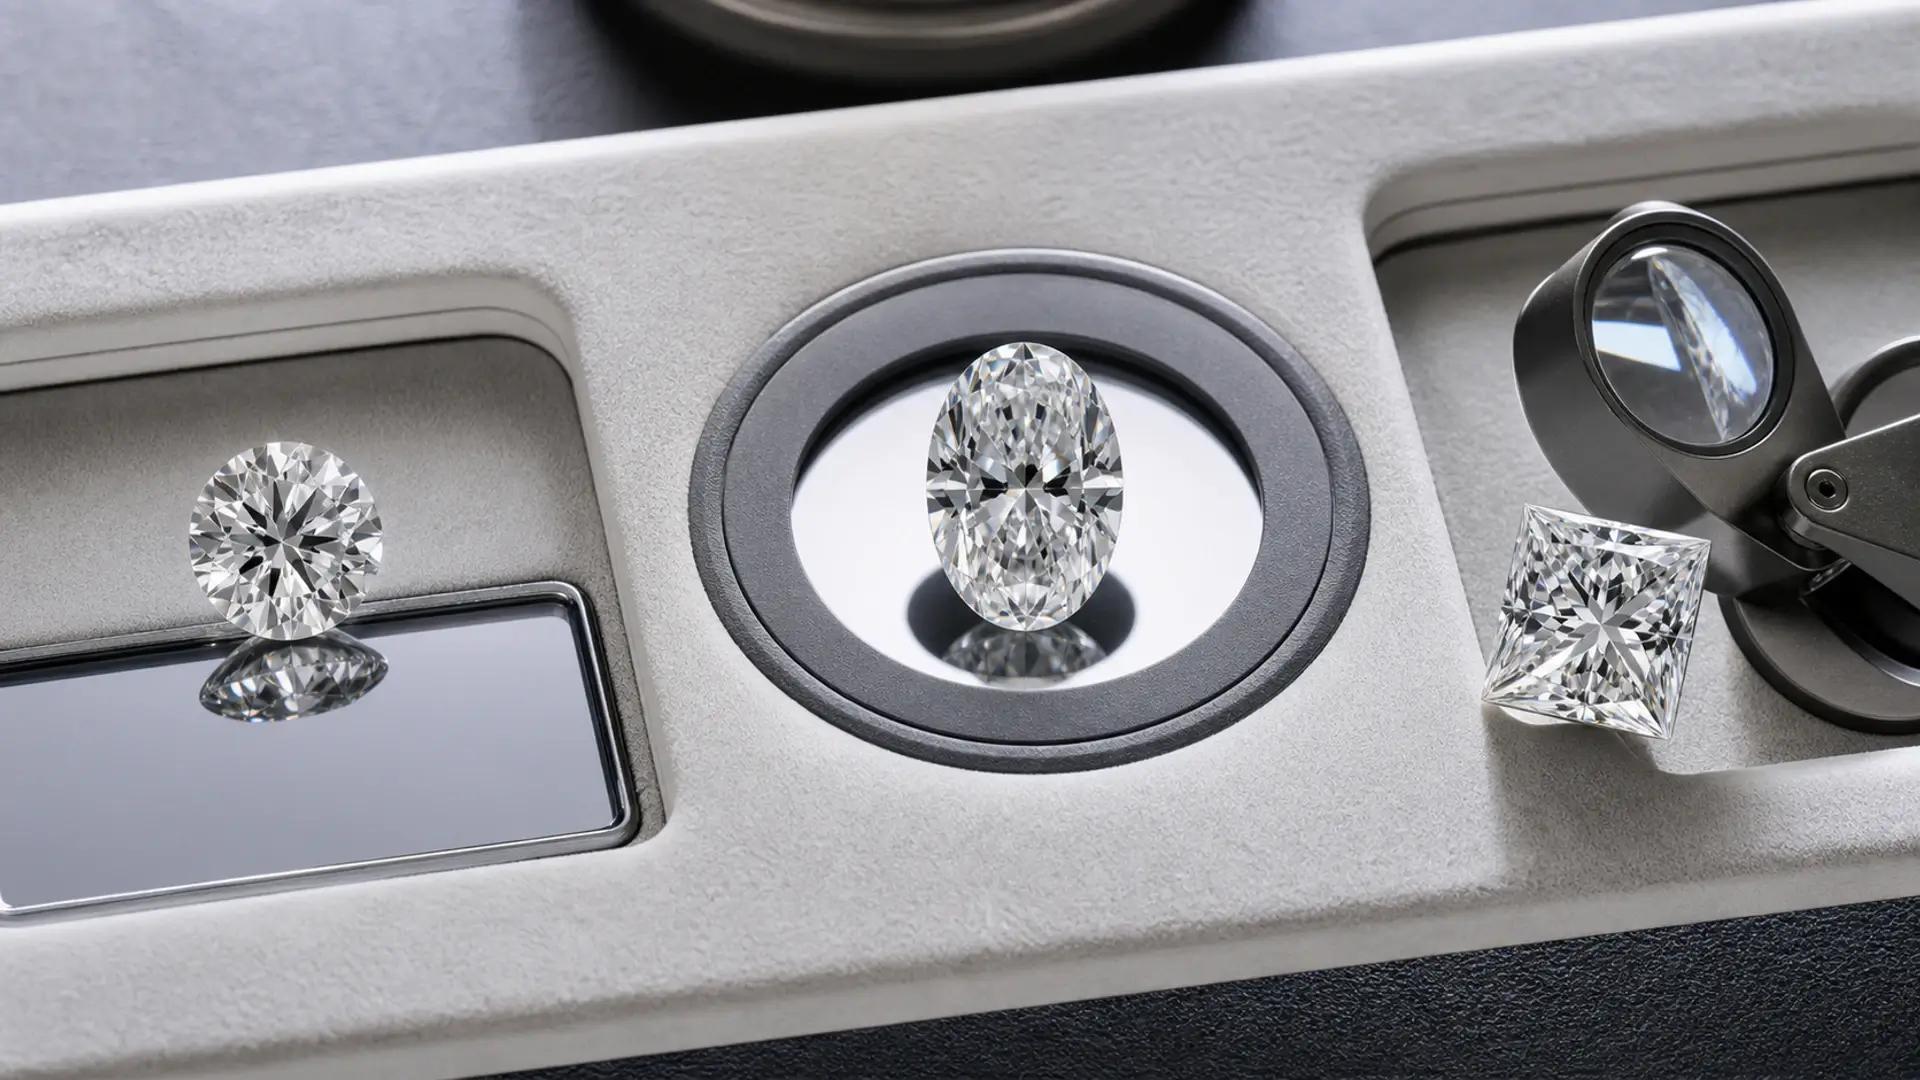
Red flags narrow the list. A full visual review decides which diamond survives it.
By Rob Cornfield, Co-Founder of YourDiamondGuys.com. 30+ years in the global diamond trade. Specialist in diamond cut and light performance.
How we evaluate proportions: We use the GIA report to find linked extremes in table, depth, crown, pavilion, girdle, culet, spread, and finish, then inspect the visual pattern and durability risks. A flag asks for proof. It is not an automatic rejection.
Here is how to use a diamond proportion red flags checklist, investigate linked extremes in table, depth, crown, pavilion, girdle, spread, and visual pattern instead of rejecting one number automatically.
That distinction keeps a checklist useful. Hard cutoffs throw away good exceptions. Loose rules keep every bad stone alive.
We use report triage to decide where to spend our eyes. The report shortens the tray. The actual diamond still decides the purchase.
For natural diamonds, start with GIA. GIA evaluates round cut through appearance, design, weight ratio, durability, polish, and symmetry, so a report only checklist should flag risk without pretending to replace the full cut decision.
The Short Answer
For natural rounds, start with GIA Excellent cut, Excellent polish, Excellent symmetry, and none to faint fluorescence. My clean proportion zone is table 56 to 58 percent, depth 60 to 62.4 percent, crown 34 to 35 degrees, and pavilion 40.6 to 41 degrees.
Values outside that zone are not all bad. They need stronger diameter, angle pair, girdle, scope, video, and price proof. Fancy shapes require outline, ratio, spread, bow tie, windowing, facet texture, and durability checks because GIA does not assign them an overall cut grade.
Round Brilliant Report Flags
Read the combination, not one row. A 35.5 degree crown becomes a bigger concern beside a 41.2 degree pavilion. A 63 percent depth becomes a bigger concern beside a Very Thick girdle and small diameter.
Use this table to prioritize inspection. A stone with several linked flags needs a compelling reason to stay.
| Round report flag | Why it matters | Proof needed |
|---|---|---|
| Table over 60 percent | Large table and flatter crown risk | Crown height, fire, pattern, and video |
| Depth over 63 percent | Small spread and hidden weight | Average diameter, girdle, and price |
| Crown below 33 or above 36 degrees | Flat or steep crown behavior | Pavilion pair and light map |
| Pavilion below 40.5 or above 41.1 degrees | Leakage and darkness risk | Crown pair plus scope proof |
| Very Thin or Extremely Thin girdle | Durability risk | Location, inclusions, and setting review |
| Very Thick or Extremely Thick girdle | Invisible weight | Diameter, depth, and price |
| Medium or larger culet | Visible center and pattern change | Face up image and style intent |
| Polish or symmetry below Excellent | Craftsmanship compromise | Price and direct visual reason |
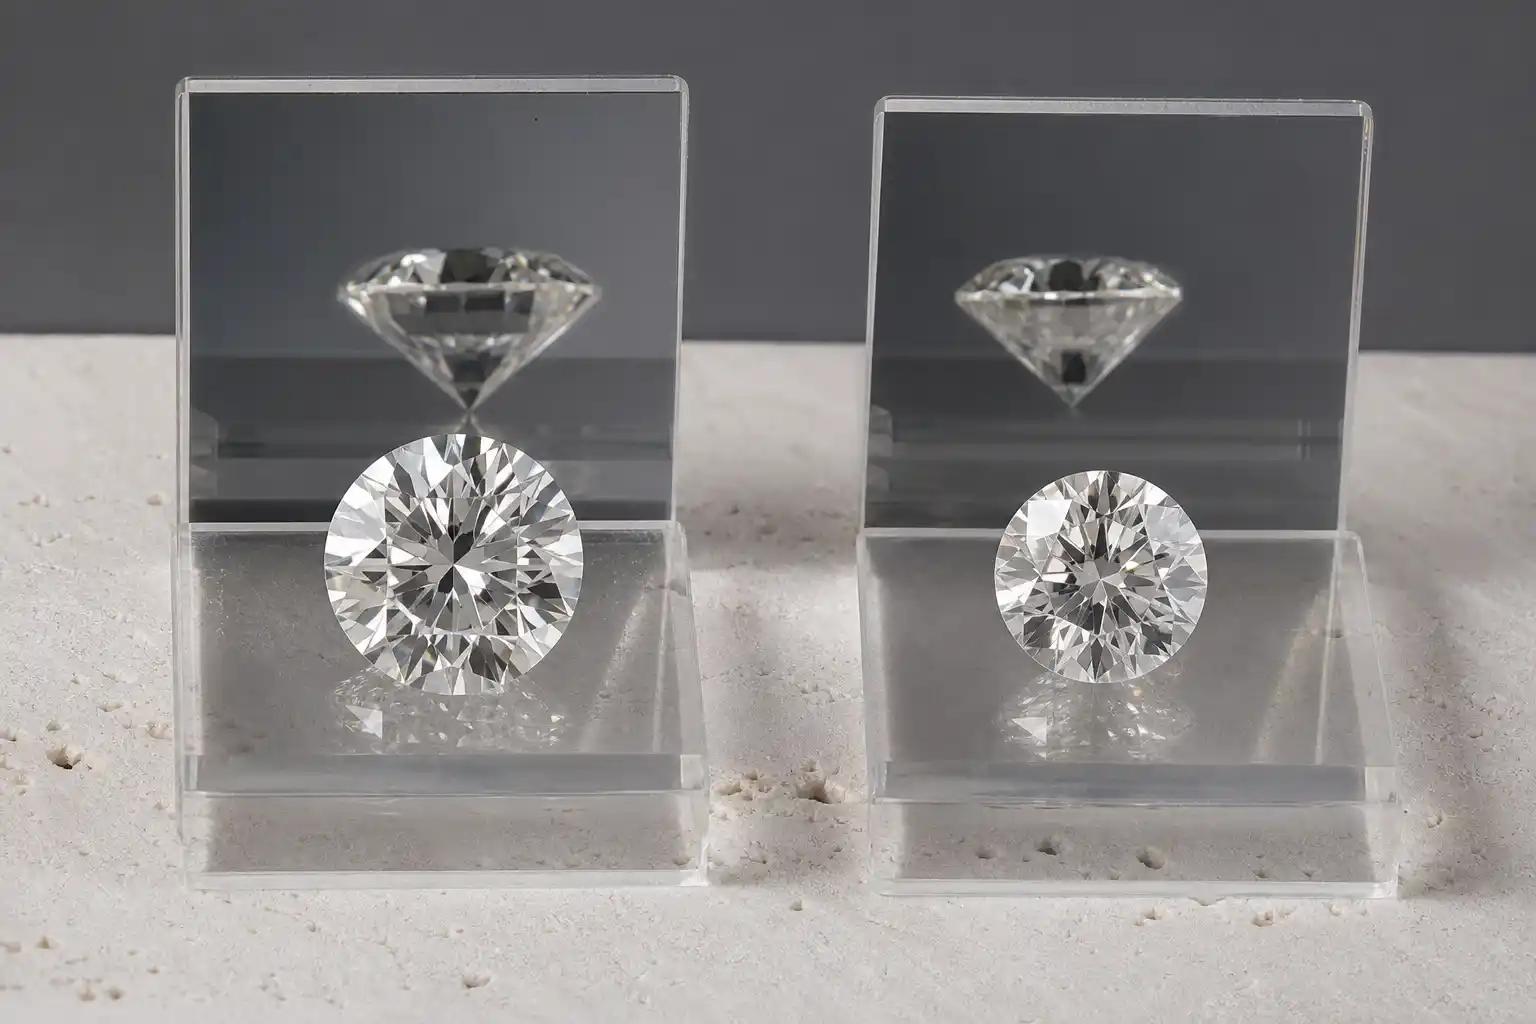
Equal carat weight can hide very different diameter and pavilion depth.
Fancy Shape Report Flags
Fancy shape flags are comparative. The same 66 percent depth means something different in an emerald cut, cushion, radiant, and princess.
Build a peer group by shape, ratio, and facet style. Then flag outlier depth, weak spread, extreme girdle, poor symmetry, and an outline that does not match the measurements.
Use the fancy shape limits guide before accepting any seller cut label as a grade.
- Ratio outside your chosen style band.
- Length or width small for the weight and peer group.
- Depth far above or below comparable stones.
- Girdle extremes at points or corners.
- Good or lower polish or symmetry without a price reason.
- Seller cut label with no visible method or proof.
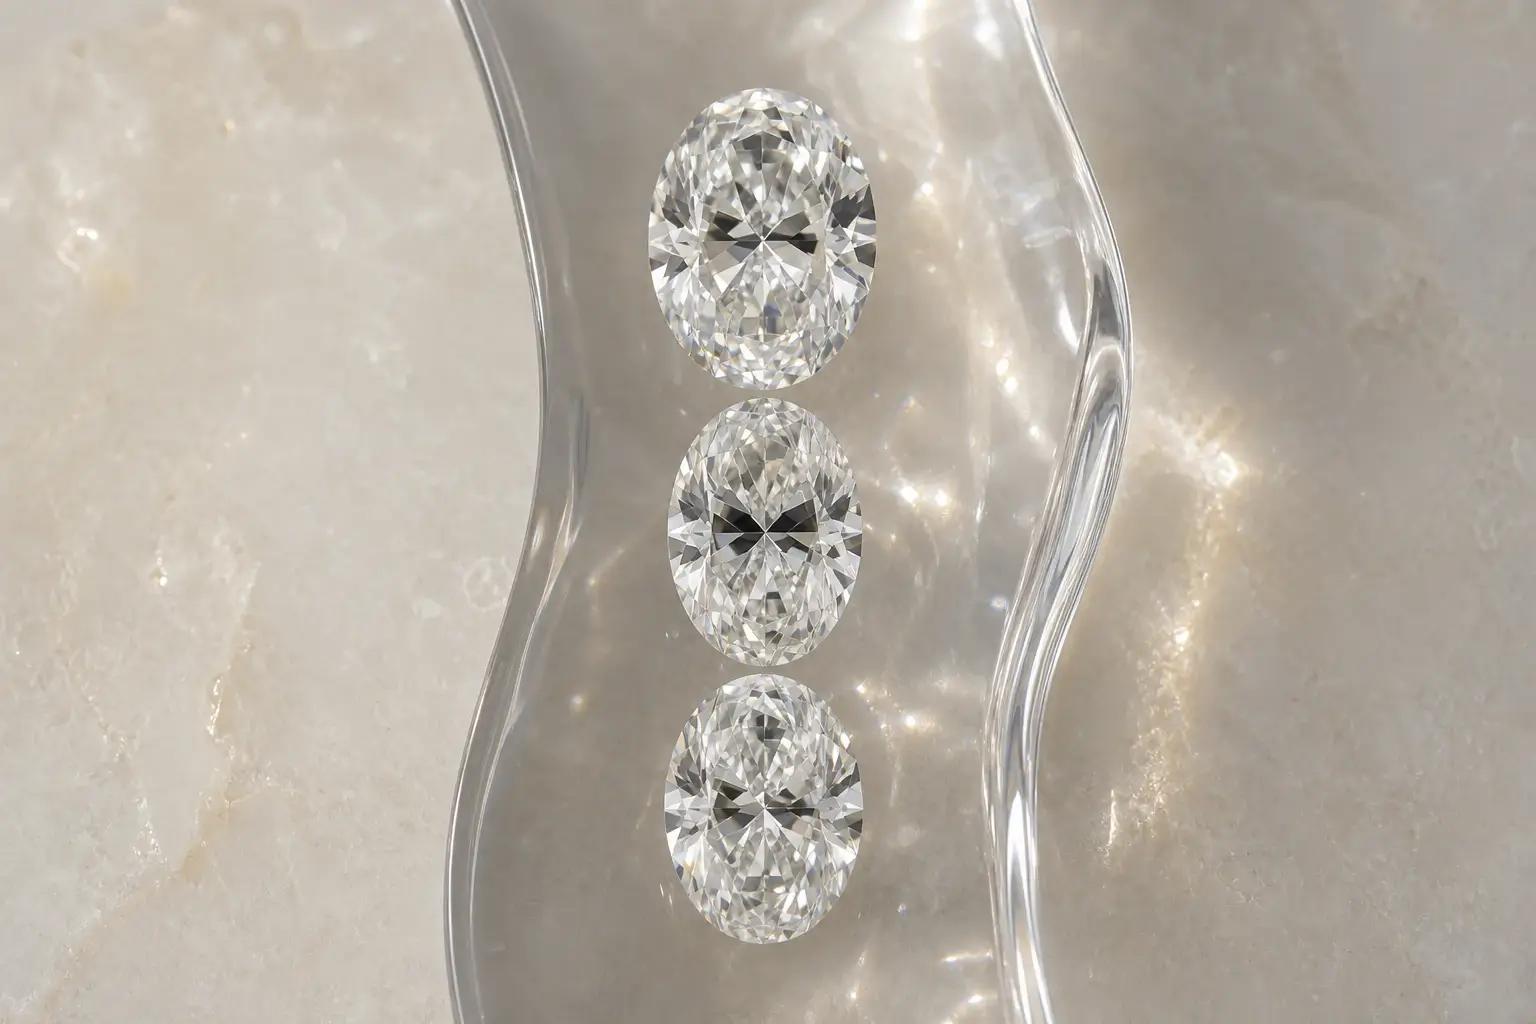
Compare fancy shapes inside a true peer group. Similar outlines can carry very different bow ties.
Visual Red Flags The Report Cannot Show
A round report cannot show the exact leakage pattern in your copy of the stone. A fancy report cannot show bow tie strength, windowing, crushed texture quality, dead corners, or outline appeal.
Request a straight top image, slow diffused video, mixed light video, side profile, and light performance image when available. Keep camera scale and lighting consistent across the shortlist.
Use the outline guide for shape and the spread score for hidden weight. Those two checks catch problems a table and depth chart misses.
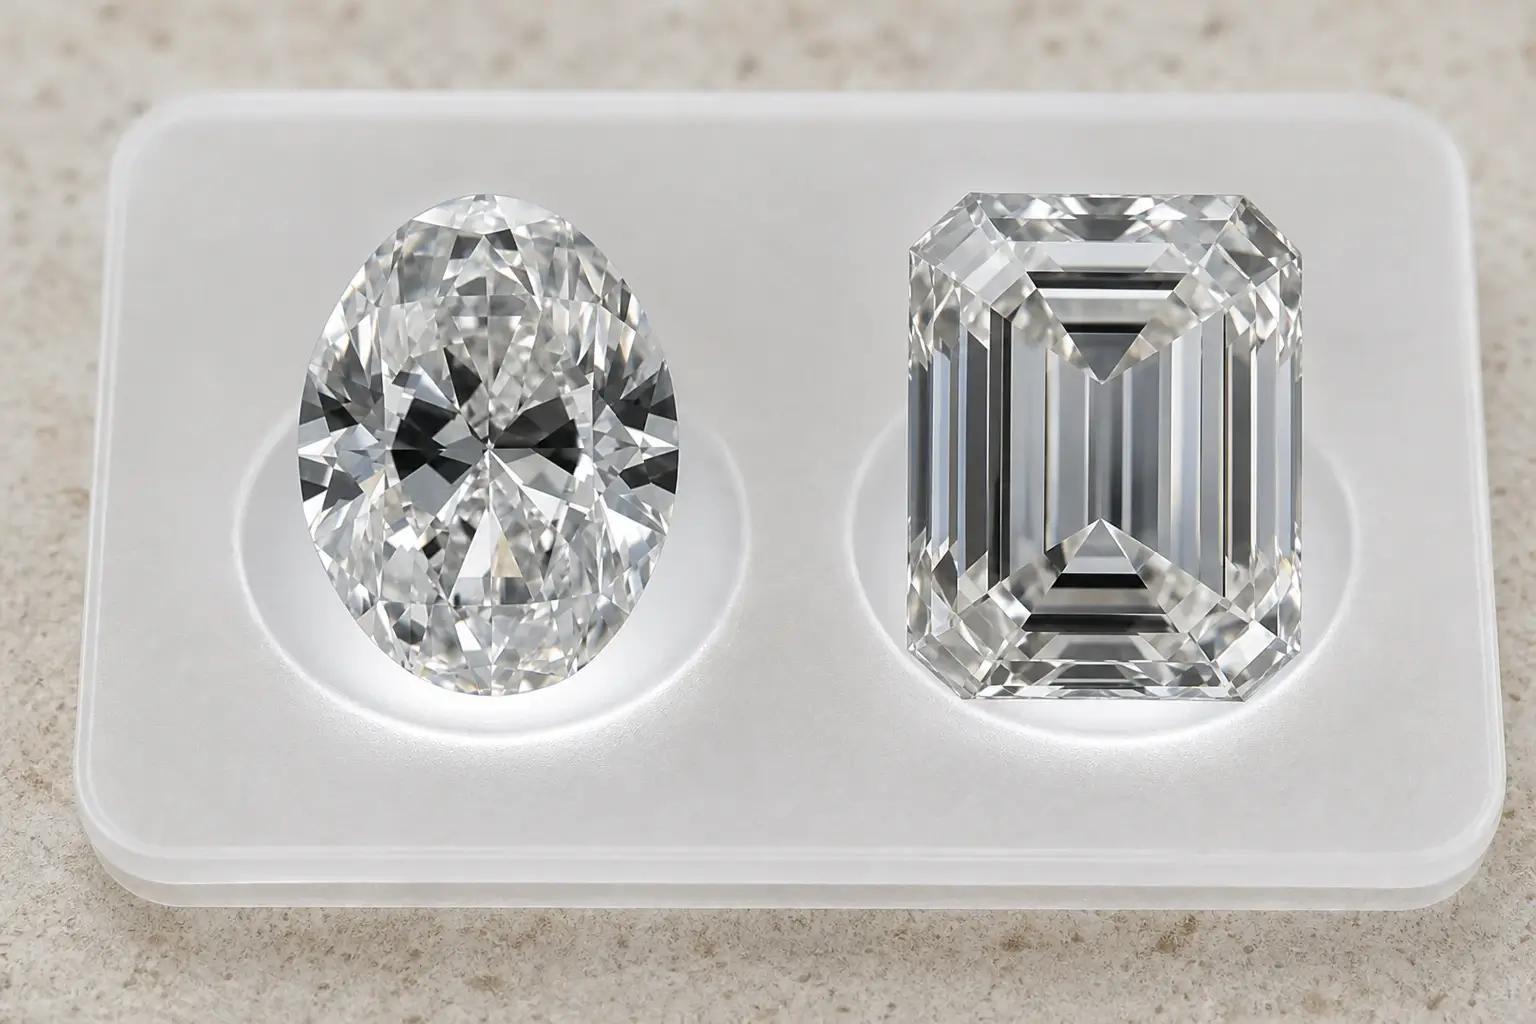
A report cannot show a dark bow tie or an emerald window. The moving stone has to answer that.
Clarity And Proportions Can Combine Into Risk
A thin girdle near a bruise, chip, cavity, knot, etched channel, or indented natural is more concerning than either feature in isolation. A deep stone with a thick girdle and a large cavity can stack weight, durability, and value problems.
Mark inclusion location on the plot. Match it to the thin edge, point, corner, or setting pressure area in the magnified image.
The report gives you the coordinates. A skilled loose stone review tells you whether the combination belongs in daily wear.
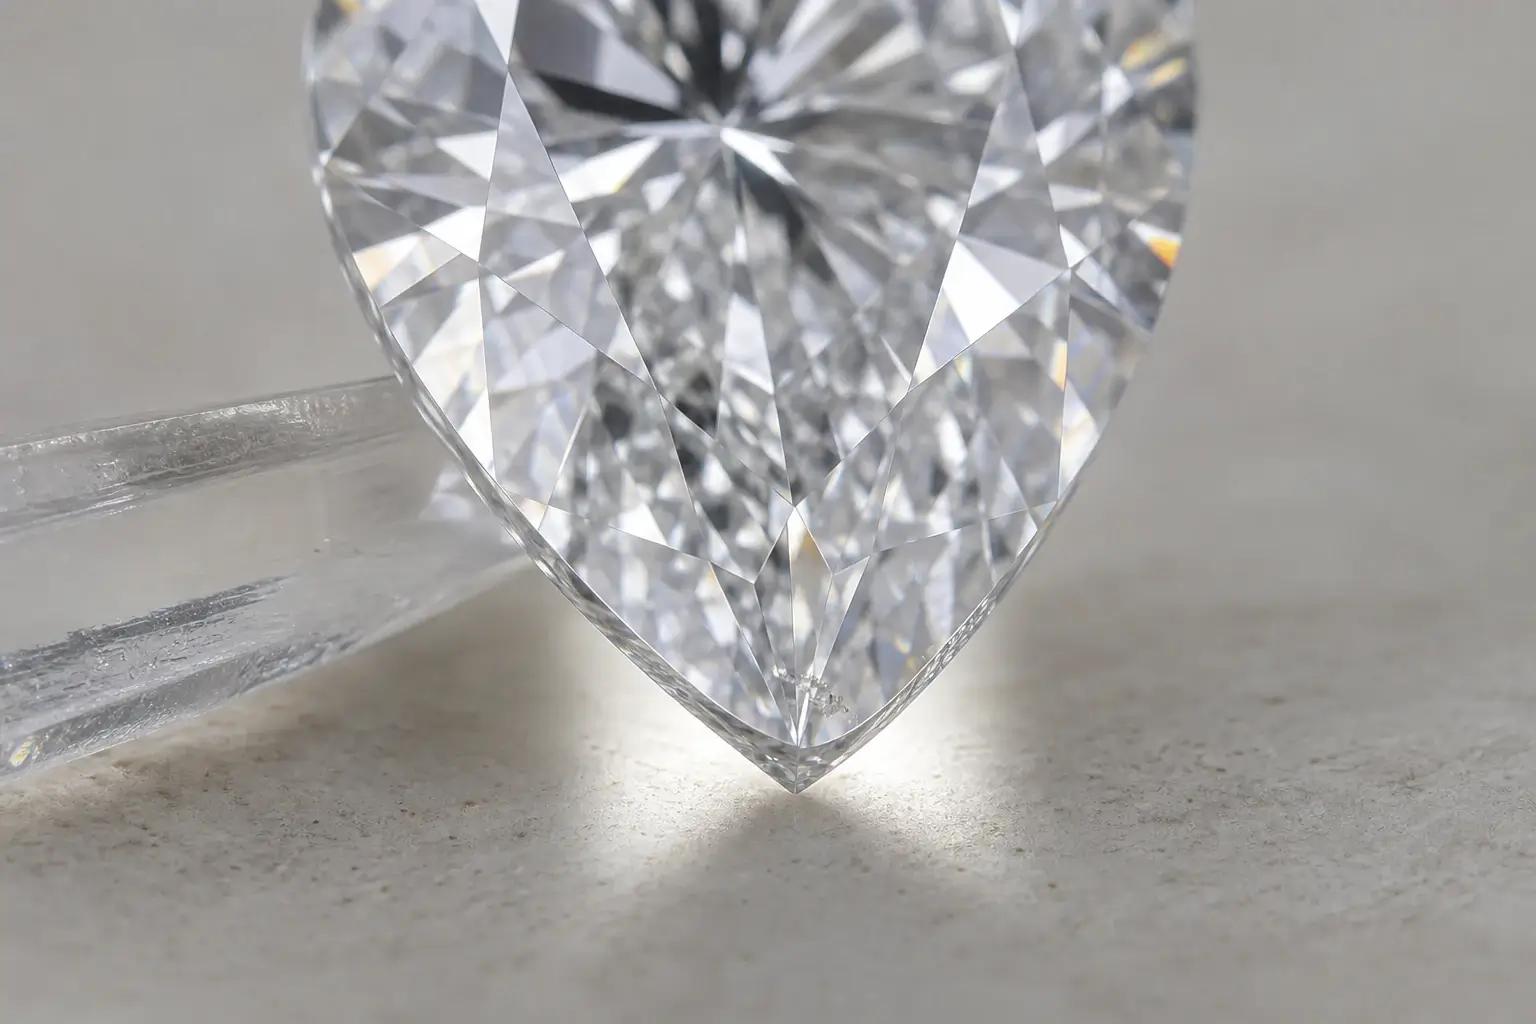
A thin girdle beside a structural inclusion can turn two mild concerns into one durability risk.
How I Run The Red Flag Screen
I color the report green, yellow, or red. Green means clean starting data. Yellow means one issue needs proof. Red means several related concerns or one severe durability problem.
Yellow stones can become great buys when the images and price answer the concern. Red stones rarely recover because compromises tend to stack.
A Stacked Risk Example
Round A has 62.8 percent depth, a Slightly Thick girdle, 34.5 degree crown, 40.8 degree pavilion, and strong scope images. Round B has 63.4 percent depth, a Very Thick girdle, 35.5 degree crown, and 41.2 degree pavilion.
Round A carries one manageable spread flag. Round B stacks hidden weight with a steep angle pair. I review A. I move past B unless an unusual price and exceptional proof change the facts.
Mistakes I Would Avoid
- Turning every yellow flag into an automatic rejection.
- Ignoring combinations because each number looks only slightly outside a range.
- Applying round cut rules to fancy shapes.
- Trusting seller cut labels without the method and images.
- Separating a thin girdle from a structural inclusion in the same location.
Questions To Ask Before Buying
- How many proportion flags occur together?
- Does the diameter or footprint match the carat weight?
- Do crown and pavilion angles complement each other?
- Where do girdle extremes and inclusions meet?
- What visual evidence answers each report concern?
Where To Compare The Proof
Affiliate disclosure: Your Diamond Guys can earn a small commission if you buy through a partner link. It does not change what you pay or which diamond we recommend.
Use the detailed cut proof on Whiteflash and the broad inventory on Blue Nile to practice report triage. Flag the numbers first, then see whether actual images answer the concern.
The Flagged Stone I Would Keep
Round A is the flagged stone I keep. Its 62.8 percent depth costs a little spread, but the 34.5 degree crown, 40.8 degree pavilion, Slightly Thick girdle, and strong scope images work together. That is one answered yellow flag, not a stack of unresolved risks.
Use the checklist to spend attention wisely. One flag asks a question. Several related flags usually tell a story.
Keep clean GIA data as the starting point for natural diamonds, then demand video and light proof. The report finds the candidates. Your eyes buy the stone.
If you want another set of eyes on the stone, book your free consultation with Your Diamond Guys.
Investigate The Flag
A flag tells you where to look next. Use the round proportion targets for a round and the fancy shape cut guide for everything else. Then inspect culet visibility, princess corner risk, or radiant pattern texture when those issues appear.
Use the central diamond proportions guide to move from red flag triage into the exact measurement, angle, shape, and proof check each flag requires.
Diamond Cut, Proportions, and Crown Height: What a Pro Sees First
Questions? Reach out directly for a free consultation, or drop them in the Diamond Buyers Academy community — Rob and Josh answer personally.
Questions Buyers Ask Us
*Some links on our site may earn us a small commission at NO EXTRA cost to you, helping us keep our content free*